Inserting Text on Forms
In ATX, you can add special text to a form. For example, you can add special text to a worksheet, such as "Initial Here" if you want the taxpayer to review specific entries. This text can be added to any form, and the form can be saved as a Customized Master that can be used for all your returns.
The Insert Text menu item will appear disabled on certain forms that are write-protected by the taxing agency.
Inserting Text
To add text to a form:
- Open the form to the page/worksheet where you want to the text.
- From the Edit menu, select Insert Text.
The cursor becomes a large + symbol.
- Drop the cursor anywhere on the page or worksheet where you want to place the text.
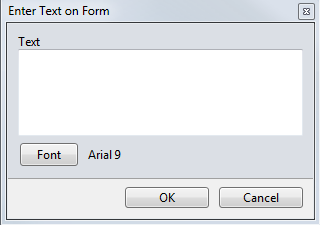
Enter Text on Form dialog box
- In the Text box, enter the text you want to appear.
- Click the Font button to change the size of the text.
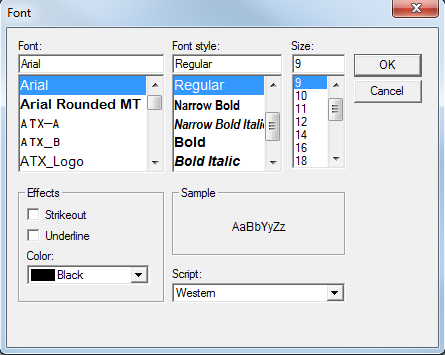
Font dialog box (appears in conjunction with text entry on forms)
- Make your selections; then, click OK.
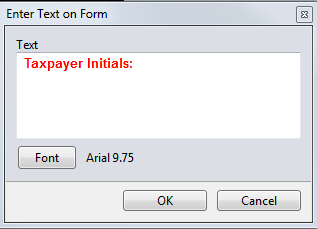
Example of text/font that will appear on form
- Click OK.
The dialog box closes and the text box appears on the form.
- To adjust the text box, click to select it; blue squares will appear around the text box.
- Do either or both of the following, depending on how you want the image placed on the form:
- To resize it, click the corner of the text box, and drag in or out on a diagonal.
- To move it, click in the middle of the text box; then, drag the whole image to its location.
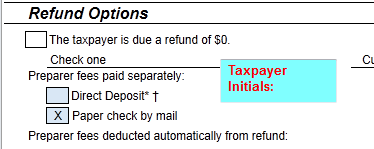
Example of inserted text box on form
The text box is saved with the form when you save the return.
Removing Text
To remove inserted text from a form:
- Click the text in the form to select it.
- Do one of the following:
- Click the Edit menu; then, select Remove Text.
- Press the Delete key.
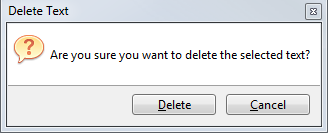
Delete Text message
- Click Delete.
See Also: